Hello all,
I thought I would craft a thread about setting up my new 55 gallon tank, for both others to see and for me to keep a reference of my first cichlid tank. I am new to the hobby, having bought a 10 gallon from a lfs, stocking it with goldfish to cycle and then realizing that I should have gone bigger and fishless. I wish the LFS that i bought the tank from would have given me this information before I started. Needless to say I bought at 29 gallon for the goldfish and moved them over a couple of days ago, so the 10 gallon has become a quarantine / hospital tank.
Last night, December 29th, 2011 I started to put together my 55 gallon that is planned to become the new home to a colony of Pseudotropheus Saulosi. I'm hoping to have 3 or 4 males with their harems (4 or 5 females each) live in this tank and become a breeding colony. Additionally, I will be adding 5 or 6 Synodontis Lucipinnis to the mix, for the display tank, and may move them later if I find that I can breed in the display tank.
Now onto the setup, first is an image of my tank and stand. The tank is a standard 55 gallon, 48 1/4 x 12 3/4 x 21, and is on a shelf style stand. The baskets you see are to hide all the fish related stuff for my tanks.

In the above image you can see a piece of eggcrate (florescent light diffuser) that was placed on the bottom to prevent the rocks from hitting the bottom piece of glass. I have found from online sources that this can be beneficial if you drop a rock as it won't impact the glass directly. I can attest to this myself as I moved over 200 pounds of rock trying to get a setup I liked. This next image is a picture of the tank with rocks in place.

There is about 140 pounds of rock installed in the tank, and they are placed directly to the eggcrate and wedged together to make the piles as stable as possible. After the rocks were arranged to my liking, as previously mentioned I moved a lot of rock to get what I thought looked good, I started to add the CaribSea Aragonite, image below.

Now I rinsed this sand thoroughly, first I added the sand to a rubber maid tub and ran warm water over it as I agitated it with my hands. After that I took 5 pound portions and repeated the water and agitation for each batch, adding it to the tank after this period. I made sure to spread the sand around the tank to get sand evenly placed throughout the eggcrate, and later to even out the thickness around the tank. After getting all the sand in the tank, it was time to start adding the water. I broke out my water change / gravel vacuum and hooked it up to the sink to begin filling the tank. Washing off the rocks of sand in the process, and moving the sand a bit while adding the water. This resulted in a much cloudier appearance than I thought I would see after all my rinsing, image below. I then installed my hoods, lights and 2 Emperor 400's on the tank.
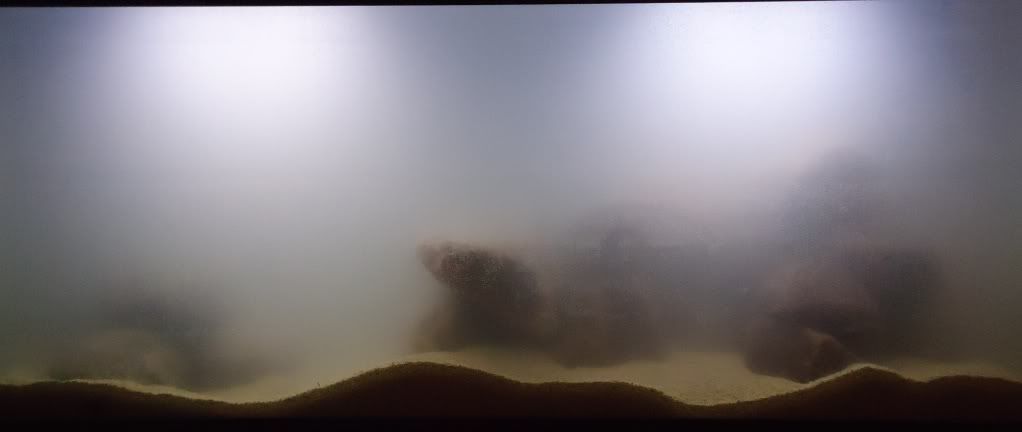
After about two hours the cloudiness started to dissipate appreciably, while running the Emperor filters with only the supplied media cartridges. I do plan on adding more media to the provided media bags down the road, but am going to add some filter floss to help get all the cloudiness down first. The image below is 2 hours of run time.

So its early Monday morning; the tank is running, nothing is leaking and the cloudiness is declining. Time for some sleep and to let the tank keep improving. In the morning, well actually afternoon, when I awake, the tank is looking much better, still going to add some filter floss to the media cartridges for the first few days, while I decided on what media I want to run full time in them. On a side not there is a wonderful article over on cichlid forums about modifying these cartridges.

Next installment will cover the tank equipment, water parameters and the start of the cycle. Thanks for taking the time to read this and I hope that it will help someone start a tank of their own.
Cadman200055 Gallon African Cichlid Tank


